
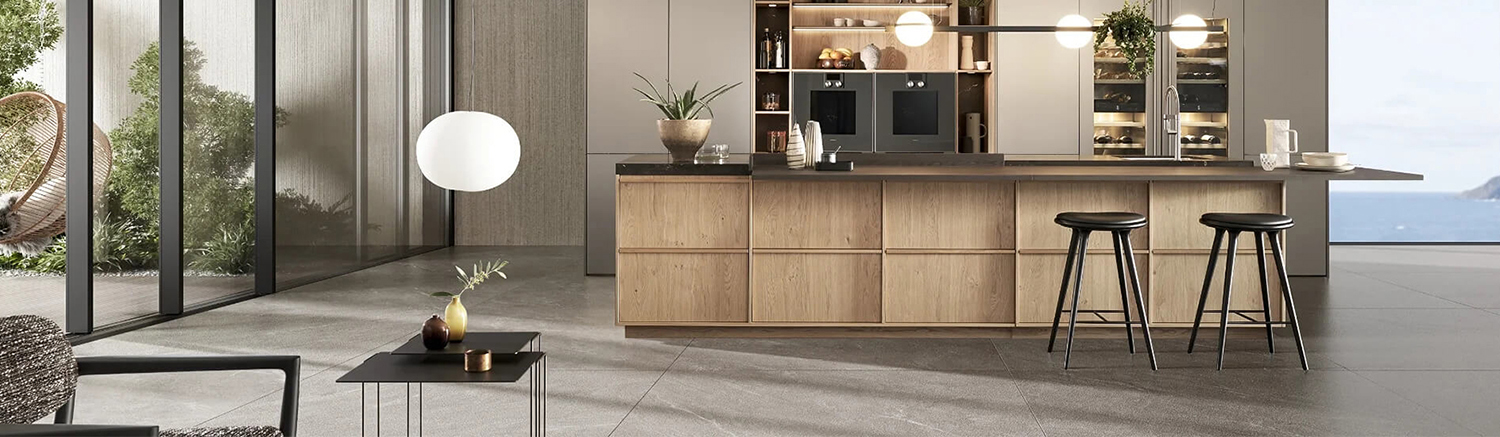
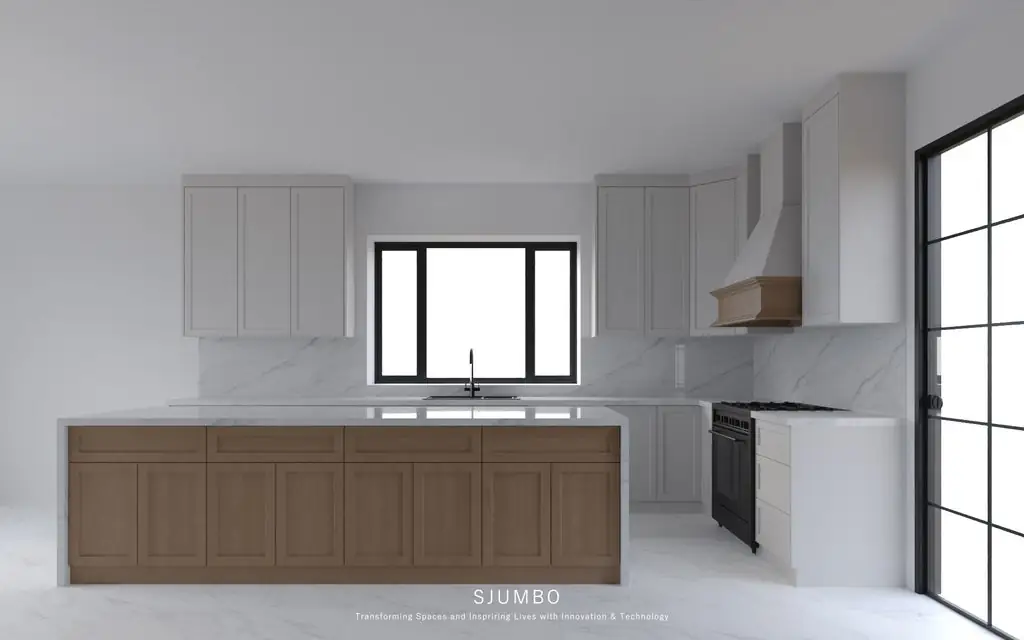
The most frustrating handover issue happens when expensive wall panels collide with a stone kitchen cabinet island, leading to black seams and peeling joints within months. Mastering the kitchen cabinet island wall panel transition is crucial for high-end interior projects. Here are practical custom kitchen cabinet engineering nodes to solve this exact headache.
Stone is rigid, while wood moves with humidity. Sealing them directly with adhesive will inevitably cause cracking when ambient temperature changes.
| Transition Style | Best Scenario | Construction Logic & Steps |
| Ultra-slim Metal T-Strip | Kitchen cabinet island side flush with wood wall panel | 1. Leave a 2-3mm expansion gap on each side 2. Pre-embed a metal slot on the substrate board 3. Secure T-shaped strip with structural adhesive to cover 1mm on each material |
| Recessed Shadow Gap | 90-degree corner or minimal floating aesthetic | 1. Pre-embed a 10x10mm matte black aluminum channel 2. Stop both materials at the edge of the channel 3. Create a clean shadow line while avoiding physical collision |
In an open kitchen cabinet layout, vapor often sneaks along the kitchen cabinet island into adjacent wood wall panels. Effective open kitchen cabinet moisture proofing stops substrate swelling and panel warping.
Extending the countertop into a bar in an open kitchen cabinet is popular, but achieving proper floating island countertop load bearing requires concealed structural support.
Executing custom kitchen cabinet engineering nodes and wall panel integration requires precise pre-engineering. At S Jumbo Furniture, we pre-route slots and pre-assemble hardware for the kitchen cabinet island wall panel transition directly in our factory, delivering complete CAD node drawings and accessories to simplify field installation for our B2B partners.
In 2026, renovation projects still face the age-old pro […]
Have you noticed a frustrating trend in modern bathroom […]
As a furniture brand deeply engaged in cross-border cus […]
Company Profile: A Leading One-Stop Provider Since 2009 […]
Related links:
About Us Company News Industry Updates Kitchen Cabinets Bathroom Suites Wardrobes Wall Systems Doors Windows & Balustrades SSL 100% Secure Transactions